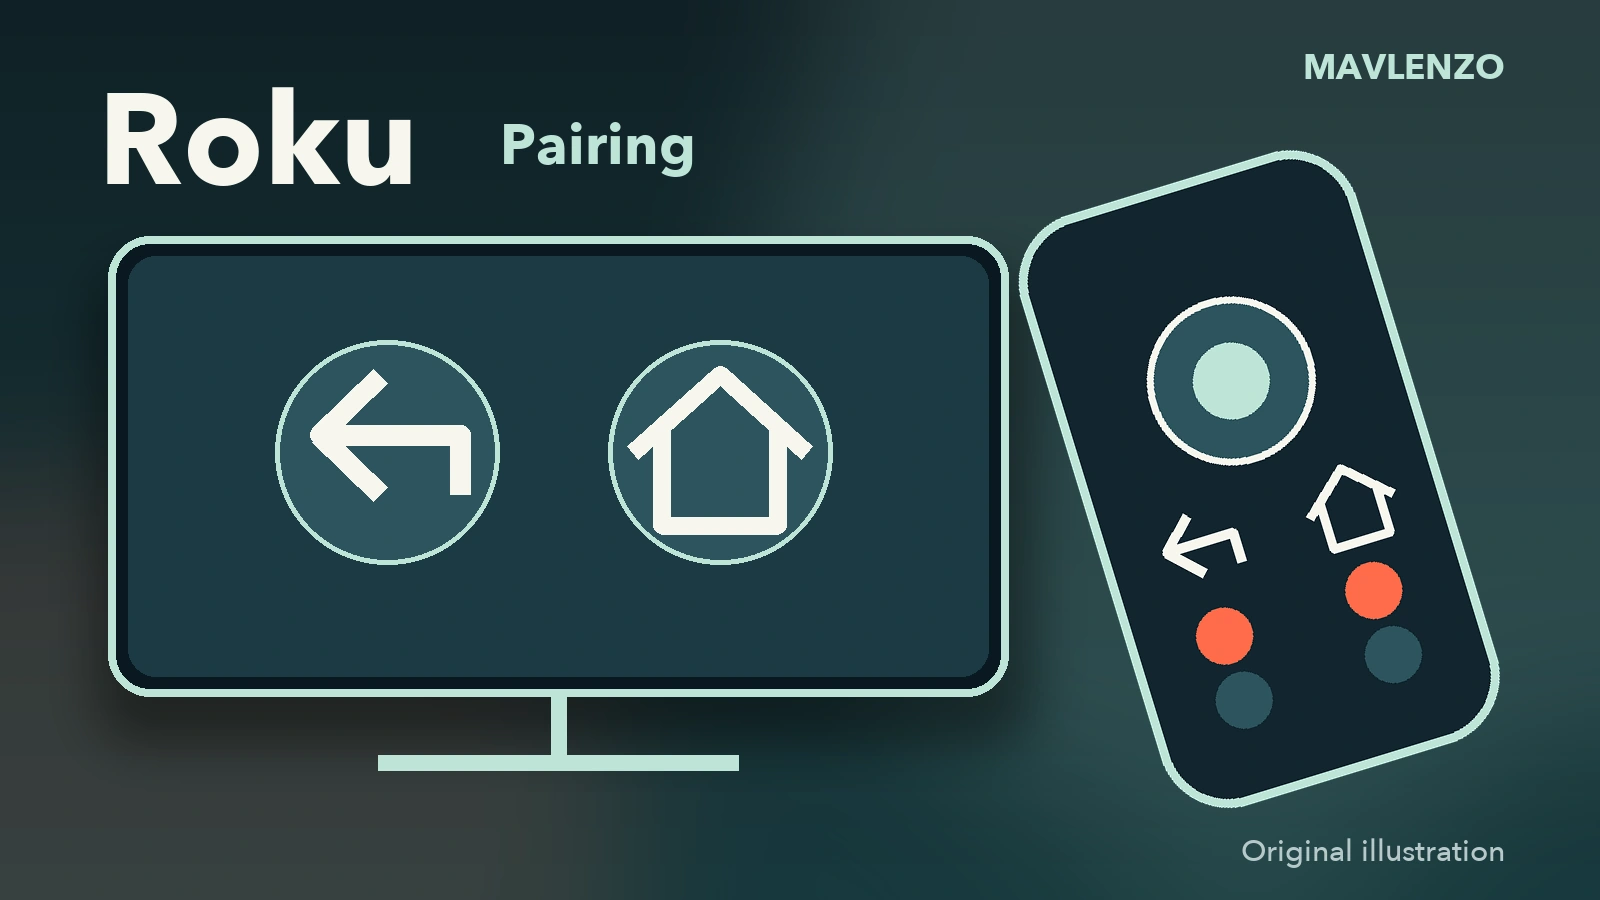
To pair a Roku voice remote, hold its pairing button for five seconds, or hold Back and Home together for five seconds if it has no pairing button. Its light should flash while the Roku device is also looking for a remote. A simple infrared remote does not need pairing: it must match the Roku device and point at its receiver.
Before holding any buttons, identify the remote and check what has stopped working: navigation inside Roku, the TV’s volume, or both. That distinction helps you avoid repeating pairing when only the TV controls need attention.
1. Identify the remote before trying to sync it
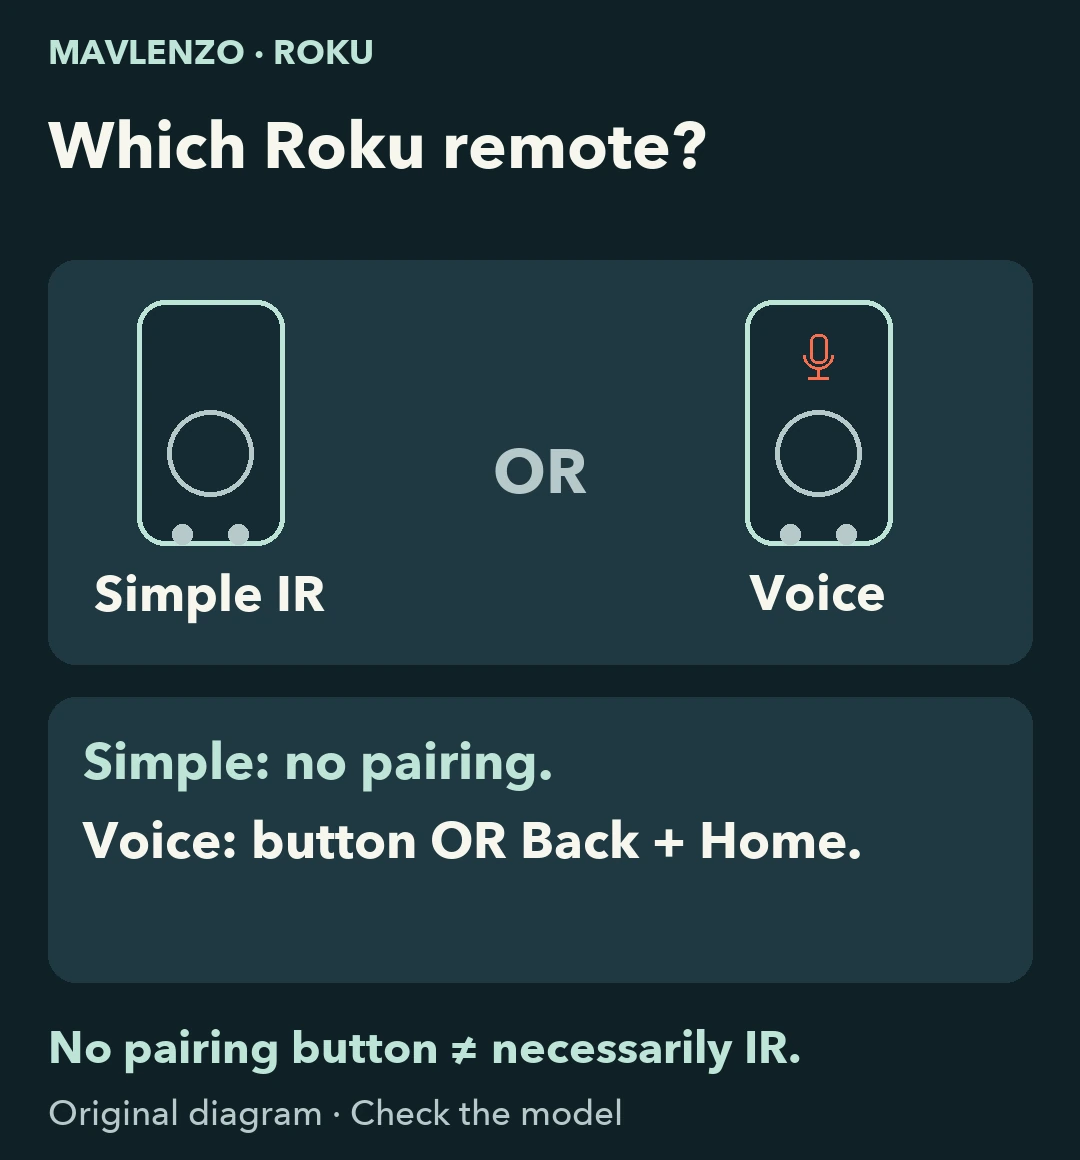
On a handheld Roku remote, look near the directional pad for a microphone or magnifying-glass voice button. That identifies a voice remote. Without a voice button, it is a simple remote. No pairing button does not automatically mean infrared. Some voice remotes use a button combination instead. See Roku’s remote identification guide.
- Simple remote: insert fresh batteries, check their orientation and clear the path to the front of the Roku player or TV. Point at the receiver and try an arrow button. If the on-screen selection moves, there is nothing to pair. If it does not respond, also check that the remote matches the Roku model; a replacement is not universal. Roku’s simple remote instructions explain these checks.
- Voice remote: follow the route below. It covers handheld remotes; the Roku Touch tabletop remote has separate instructions.
2. Pair a voice remote, with or without a pairing button
Both the Roku device and remote need to be in pairing mode together. During initial setup, follow the pairing prompt on the screen first. For an already configured Roku, choose your starting point:
- You can still navigate using another remote or an already connected Roku app: open Settings → Remotes & devices → Add devices → Remote → Continue and follow the screen. Labels and presentation may vary with the device’s language and software.
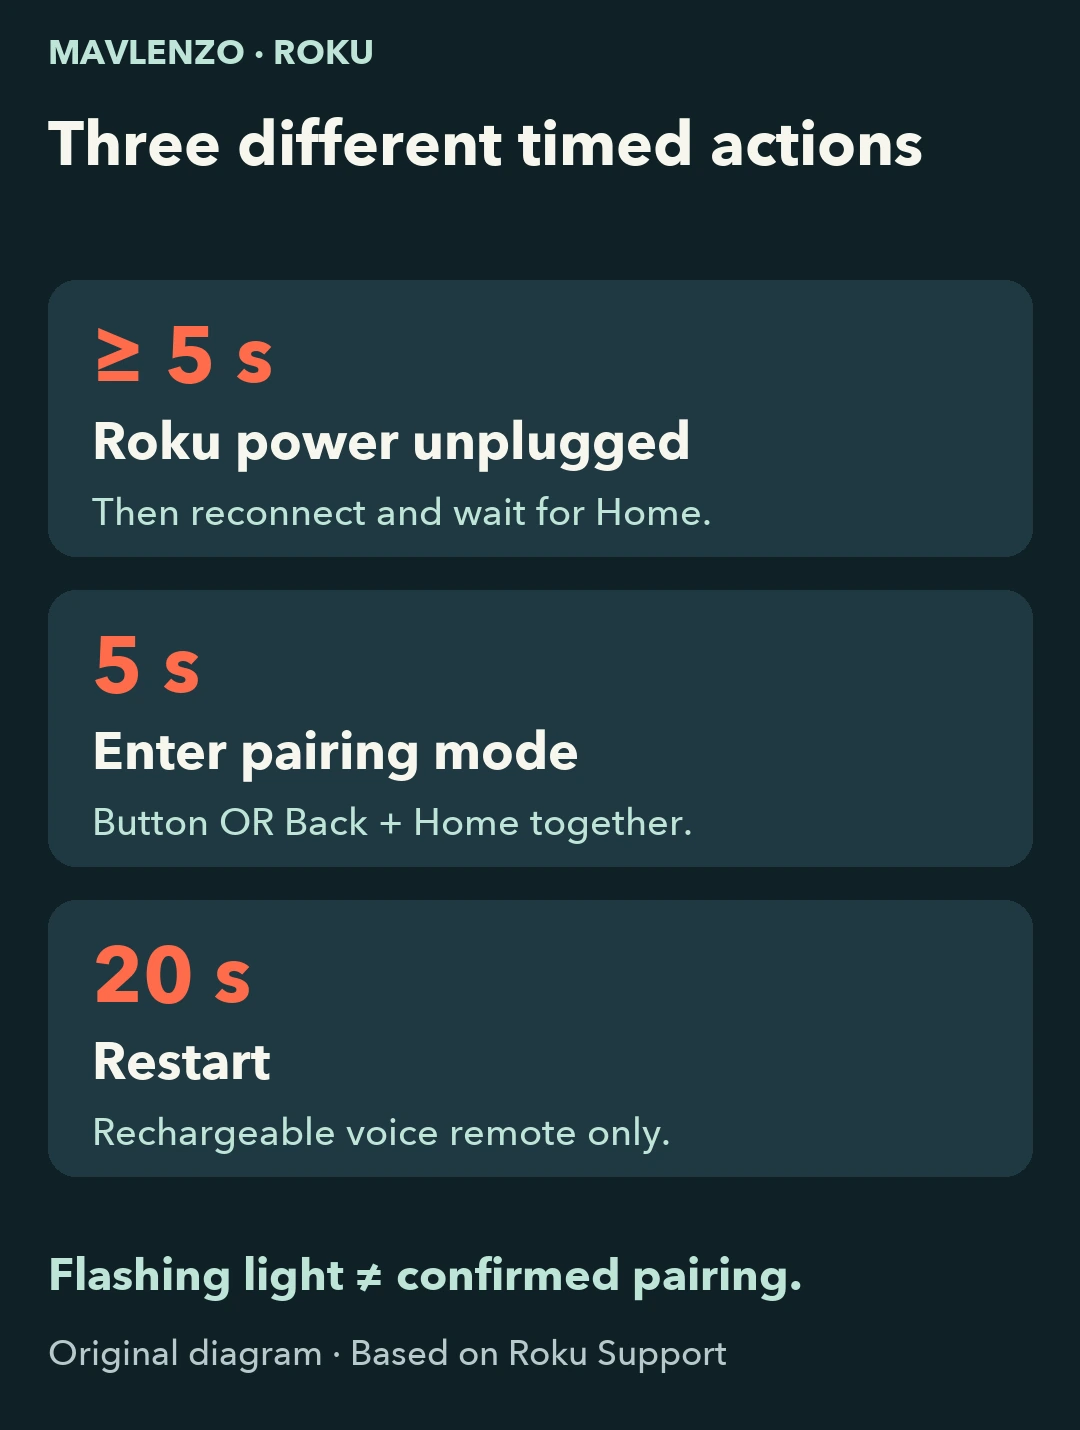
- You have no working controller: unplug power from the Roku player or Roku TV, wait at least five seconds, then reconnect it. On a configured device, wait for the Home screen before putting the voice remote into pairing mode. The five-second wait comes from Roku’s generic pairing procedure; if the support instructions for your exact model specify another interval, follow those model-specific instructions.
- With a pairing button: find it on the back or under the battery cover. Hold it for five seconds until the status light flashes. Without a pairing button, but with a voice button: hold Back and Home together for five seconds until the light flashes.
- Wait for the pairing confirmation on the screen. Then try an arrow button and check that the selection moves. A flashing light indicates pairing mode; it does not establish a successful connection by itself.
If confirmation does not appear, try again while making sure both devices are in pairing mode together. Follow Roku’s pairing procedure and its remote troubleshooting guide for your model. Do not automatically move on to a factory reset.
Five seconds and twenty seconds do different jobs
Five seconds starts voice-remote pairing. Roku’s twenty-second action is for restarting an unresponsive rechargeable voice remote. It is not a stronger pairing procedure.
- Removable batteries: open the cover, remove both batteries and press any two buttons. Reinsert the batteries negative ends first, following the compartment markings, then replace the cover.
- Rechargeable voice remote: hold its pairing button for twenty seconds, or hold Back + Home for twenty seconds if there is no pairing button. Wait until the light stops flashing. Then repeat the five-second pairing procedure if needed.
These actions restart the remote. Unplugging the Roku player is a separate step. Check power, batteries or charging before concluding that the remote has failed; see the conditional steps in Roku’s repair guide.
Navigation works, but TV volume does not?
If the arrows move Roku’s on-screen selection, move to TV-control checks rather than immediately pairing again. For voice remote models that offer TV controls, open Settings → Remotes & devices → Remotes, select your voice remote, then choose Set up remote for TV control.
Point the remote at the TV, make sure the TV is not muted and answer the on-screen sound prompts. Support varies by television; a Roku remote does not directly control a soundbar or receiver. Consult Roku’s TV-control and HDMI-CEC guidance when needed.
Can the mobile app replace the remote?
Yes, when it can already communicate with the Roku over the local network. Install the official app, sign in and connect it to the device, then open its Remote feature. Your phone and Roku need to share the local network; an iPhone or iPad running iOS 14 or later must allow local-network access. A VPN or network setting that blocks devices from communicating can prevent discovery. See using the remote app and connecting the phone to Roku.
An offline Roku during initial setup is a different starting point. Roku says a remote is needed to connect it to Wi-Fi. Confirm a compatible physical remote for the device model instead of relying on the app, buying an arbitrary replacement or resetting the device.
Three hypothetical situations and the next useful action
- “No pairing button, but there is a microphone button”: use the voice-remote route without a pairing button. Prepare the Roku, then hold Back + Home for five seconds.
- “The arrows work; volume does not change”: check TV-control setup and compatibility. Record the sound-prompt results rather than treating that symptom alone as failed pairing.
- “First setup, no remote and Roku is not on Wi-Fi”: start with a compatible physical remote; the app cannot yet provide network-based navigation.
Action animation: follow the correct branch
This 2-minute 23-second animation has nine chapters showing the actions and prerequisites. The variants are alternatives: use only those matching your hardware. The five- and twenty-second holds are shown in real time; startup and successful-pairing latency are not measured. The diagrams are schematic, not a reproduction of a particular model’s interface.
Video transcript
- Look for the voice button: a microphone or magnifying glass, depending on the model. Without it, check the simple-remote branch.
- A voice remote may have a pairing button or no pairing button. That detail alone does not identify an IR remote.
- A compatible simple remote uses infrared. It does not need pairing.
- Check the batteries and model, then point at the front of Roku with no obstruction. The line illustrates the path, not a visible beam.
- If no other control is available, unplug Roku power, not just the HDMI cable.
- Keep power unplugged for at least five seconds. This wait is shown in real time.
- Plug power back in, then wait for the Home screen. No universal startup time is promised.
- Now put the voice remote in pairing mode. Roku and the remote must be ready at the same time.
- Voice remote with a pairing button: find it on the back or under the cover, depending on the model.
- Hold the button for five seconds until the light flashes. The hold is shown in real time.
- Flashing means pairing mode. Next, check for the on-screen confirmation.
- Voice remote without a pairing button: identify Back and Home. Choose this option, rather than both pairing procedures in sequence.
- Hold Back and Home together for five seconds until the light flashes. Keep both buttons pressed.
- Do not confuse Back with Instant Replay. These control drawings are schematic.
- Wait for the pairing message on your TV. The flashing light alone does not prove success.
- Then try navigation. Without confirmation, check both pairing modes again and follow official troubleshooting.
- Restarting a removable-battery remote: open the cover and remove both batteries.
- With both batteries removed, press any two buttons on the remote.
- Reinsert the batteries negative ends first, following the compartment markings.
- Replace the cover. Pair again afterward if necessary; removing batteries is not the pairing step.
- Only for a rechargeable voice remote, restarting uses a twenty-second hold.
- Hold the pairing button, or Back and Home together if there is no pairing button. Twenty real seconds are shown.
- Release, then wait for the light to stop flashing. This twenty-second restart differs from the five-second pairing hold.
- Navigation works but volume does not? Check TV controls separately on a compatible model.
- The mobile app needs Roku reachable on the local network. It cannot establish the Roku’s first Wi-Fi connection.
- Read the guide’s detailed branches and sources. Mavlenzo explanatory animation based on Roku Support; no device tested.
If it still fails, describe the useful observations
For Roku support options, prepare the player or TV model, remote type, removable batteries or recharge, presence of a voice button and pairing button, light behaviour, exact on-screen message, separate navigation and TV-volume results, whether networking was already configured, and each action tried with its result. Include the date and preferred response language. Keep passwords and serial numbers out of public messages.
Once navigation works again, our Roku preparation guide covers the next application-setup step.
Animation method and sources
Procedural facts come from official Roku documents: identify the remote, prepare Roku and pair a voice remote, and check the result and restart according to battery type. Compatibility remains model-specific.
Method: a documentary guide and original Mavlenzo explanatory animation. Selected passages from Todd’s Garage’s demonstration were viewed to observe the cover and rear pairing control; the other branches are documentation-based diagrams, not tested gestures. No pixels or audio from that video are reproduced. The team did not test a Roku device, TV or pairing operation for this article. Sources and actions were rechecked for this October 29, 2026 update; the outcome depends on the model and symptom.